
Your home’s plumbing system is something you rely on every day—but most of it is hidden behind walls and under floors. Over time, leaks, corrosion, or blockages can form without obvious warning signs. That’s why testing your plumbing from time to time is a smart way to catch small problems early before they turn into expensive repairs. Regular testing can also help you stay ahead of issues that may require professional plumbing services.
In this guide, we’ll walk you through how to test your plumbing system at home using simple tools and easy steps. Whether you’re troubleshooting a suspected issue or just doing a routine check-up, these tips will help you spot the warning signs and know when to call in a professional.
Why Test Your Plumbing System?
Testing your plumbing helps you:
- Detect leaks before they cause water damage
- Identify pressure or drainage issues
- Ensure toilets and fixtures are working properly
- Avoid high water bills from undetected leaks
- Keep your plumbing system running efficiently
Even if you’re not a professional plumber, a basic inspection can go a long way in maintaining your home’s plumbing health.
Table of Contents
ToggleStep 1: Check for Visible Leaks and Damage
Start with a walk-through of your home. Look under sinks, behind toilets, around your water heater, and anywhere else pipes are exposed.
Look for:
- Water stains or damp spots on walls, ceilings, or floors
- Dripping faucets or pooling water around fixtures
- Rust or corrosion on pipe joints or valves
- Warped wood or peeling paint, which may signal hidden leaks
Even a slow drip can lead to mould, mildew, and structural damage if left untreated.
Step 2: Test Water Pressure
Low or uneven water pressure can indicate blockages, corroded pipes, or issues with your main water line.
Here’s how to check:
- Turn on a faucet and observe the flow. Does it come out strong and steady?
- Try multiple taps at once. If pressure drops significantly when two are used, there may be a flow issue.
- You can also use a water pressure gauge attached to an outdoor tap. Ideal pressure is usually between 40–60 psi.
If pressure is too low or too high, it could lead to leaks, damage to appliances, or poor performance.
Step 3: Perform a Toilet Dye Test
Toilets are one of the most common sources of hidden leaks in homes. A slow leak from the tank to the bowl can waste hundreds of litres of water each month.
To test:
- Remove the lid from the toilet tank
- Add a few drops of food colouring (or a dye tablet)
- Wait 15–30 minutes without flushing
- Check the bowl—if the colour appears, you have a leak
This usually means the flapper valve needs to be replaced—a quick and inexpensive fix.
Step 4: Monitor the Water Meter for Hidden Leaks
Your water meter is a valuable tool for leak detection. If you suspect a hidden leak, try this test:
- Turn off all water-using appliances and fixtures (don’t forget the dishwasher or washing machine)
- Locate your water meter and take note of the reading
- Wait 30–60 minutes without using any water
- Check the meter again—if the numbers have changed, you likely have a leak somewhere in the system
If you suspect a leak but can’t find it, it’s best to contact a plumber who can use specialized equipment to locate the source.
Step 5: Listen for Unusual Noises
Sometimes plumbing problems announce themselves with sound before you see any visible signs. Keep an ear out for:
- Banging or knocking (often called water hammer) when you shut off taps
- Gurgling from drains or toilets, which could signal a venting or drainage issue
- Whistling or squealing when water is running, possibly caused by worn valves or sediment buildup
These sounds might seem harmless at first, but they could point to pressure issues, trapped air, or obstructions in your system.
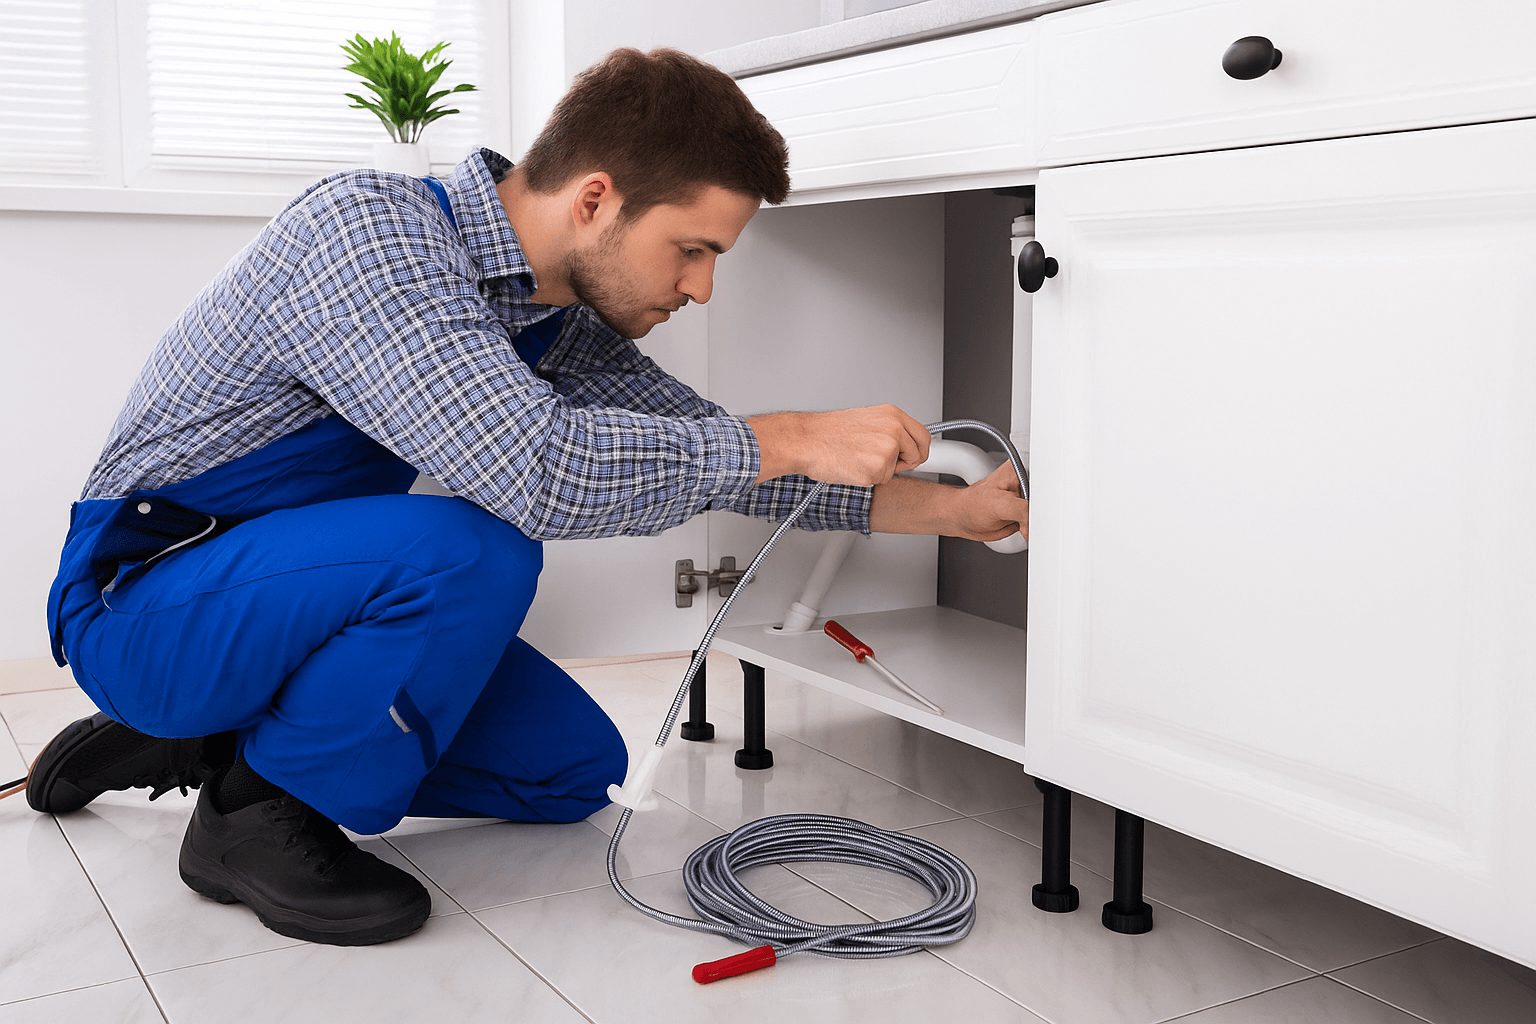
Step 6: Check Drain Speed and Flow
Slow drains are a red flag for partial clogs or improper venting. Test all sinks, tubs, and showers:
- Fill the basin with a few inches of water
- Pull the plug and observe how quickly the water drains
- Listen for gurgling or bubbling, which may signal a blockage or ventilation problem
Avoid using chemical drain cleaners, which can damage pipes. For persistent clogs, use a drain snake or call a plumber for a safe and thorough cleaning.
Step 7: Inspect Shut-Off Valves and Appliances
Ensure your shut-off valves are working properly and aren’t stuck or leaking. Check around appliances like:
- Washing machines
- Dishwashers
- Water heaters
- Fridges with water dispensers
Look for signs of leaks or corrosion in the connections and hoses. Replacing worn-out hoses or tightening loose fittings can prevent major water damage.
When to Call a Professional
While DIY testing is helpful, some problems require a licensed plumber with the right tools and experience. Call in the pros if:
- You find a hidden leak but can’t locate the source
- Your water pressure is inconsistent across the house
- You hear strange pipe noises or suspect a sewer issue
- Your plumbing is over 30–40 years old and hasn’t been inspected recently
Conclusion: Regular Plumbing Tests Save Time and Money
At Lynn’s Plumbing Heating & Cooling, we know that testing your plumbing may not be the most exciting task—but it’s one of the smartest ways to protect your home. A quick inspection every few months can prevent costly damage, cut down on water waste, and give you real peace of mind. Trust Lynn’s to help you stay ahead of plumbing problems before they start.